
I am charmed by this image and since it’s been a dry season for photography, I thought I’d post it here.
The shot accompanies Maralee’s words over at A Musing Maralee. Take a look!

I am charmed by this image and since it’s been a dry season for photography, I thought I’d post it here.
The shot accompanies Maralee’s words over at A Musing Maralee. Take a look!
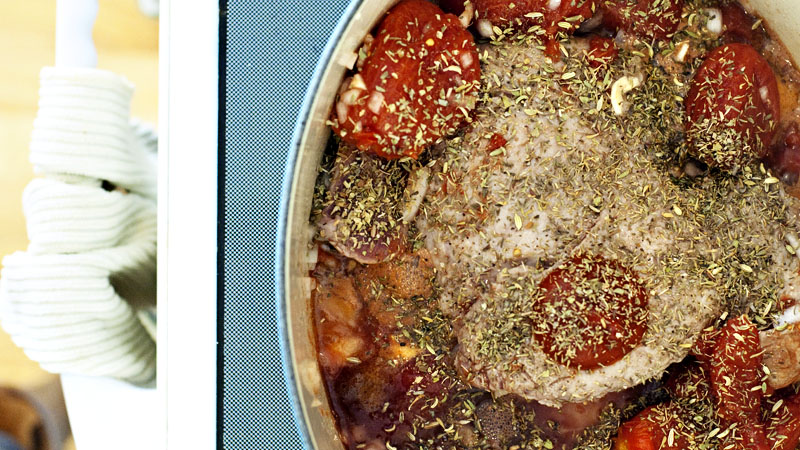
A few thoughts…
1) I’ve been eager to cook this recipe since Lindsey and Bethany recommended it to me. Thanks, friends!
2) Cooking family dinners is way easier when we have no plans during the week. Once we add in meetings and church activities, it’s much much harder to lovingly stir those onions into butter and oil. I’m torn by this! I’ve discovered that home food tastes a lot better than eating out and I really enjoy the creativity of finding a quality recipe and trying out something new. But it simply doesn’t work when we have to be somewhere by 7:00pm. It also didn’t work at all for me when Livia was little. I didn’t enjoy cooking at all back then. Now that she’s a big kid I can enjoy the process while she eats a pear or piece of string cheese and peruses Netflix.
3) I am a certified meat section dummy. I always feel like I’m on the bloopers reel of some television program when I’m trying to find the right cut of meat. There’s an old story about me and chicken—at a deli counter—that shows this absurdity has been a lifelong reality for me. This recipe clearly states that I was to purchase a “boneless pork shoulder roast” but all the pork roasts at my grocery store also had the work “butt” thrown in there. Now, I’m not porcine expert, but how can the shoulder and butt be in the same 2.5lb cut of meat??? This seems perplexing. And thank you, I do know how to Google. This just ain’t at the top of my To Learn list.
Without further ado, the recipe that fed my family last night and will serve as delicious leftovers tonight. We were all fans and it will be made again in my kitchen!
2 to 2 1/2-pound boneless pork shoulder roast
1 small onion, chopped
1 garlic clove, minced
salt and pepper
2 tablespoons olive oil
1 small pat butter
1 large can whole tomatoes, with juice
1 cup red wine
5 sprigs fresh thyme
5 sprigs fresh oregano
Small handful of fennel seeds
1 tablespoon hot sauce, for smokiness (I used Trader Joe’s Hot Chili Sauce)
Pappardelle
Freshly grated Parmesean
Preheat oven to 325°F. Liberally salt and pepper the pork roast. Add olive oil and butter to large Dutch oven and heat over medium-high until butter melts, but does not burn. Add pork roast to pan and brown on all sides, about 8-10 minutes in all.
Add the onion and garlic and saute for 1 minute. Add tomatoes, wine, thyme, oregano, fennel, and hot sauce and bring to a boil. Cover, and put in oven. Braise for 3-4 hours, turning every hour or so. Add more liquid (water, wine, or tomato sauce) if needed. (The liquid should come to about 1/3 of the way up the pork.) Meat is done when it’s practically falling apart. Put on a cutting board and pull it apart with two forks, then add back to pot and stir. Cook 1 to 2 pounds pasta according to package directions. When it’s is ready, put into individual bowls and top with ragu and lots of Parm.

I read a book when I was a kid about a girl who, for some reason I cannot recall, lived on her own for awhile in a big city. Maybe New York. To combat all the lonely feelings she had, she would cook up garlic and onions in order to generate a homey smell. I really don’t think she ate them or turned them into a complete recipe. Okay, so that sounds really silly all typed out, but there is a small corner of my brain dedicated to this memory. And I think I understand her mindset now.
I actually like to cook onions. And garlic, carrots, and whatever veggies I need.
I can admit my new dutch oven makes this process more enjoyable than it used to be. The Le Creuset I picked out—yes, the splurge that means I don’t need a Mother’s Day gift, an anniversary present or any gifts for my 39th birthday next year—is this lovely oval shape with a creamy white interior. Cooking in it is a dream. I can SEE what’s happening when the oil and butter begin to melt together and the diced onions begin to sizzle. I can watch the onions turn translucent and know it’s time to toss in the remaining vegetables. I can notice when things start to get a little brown—wait, they’re burning! turn down the heat!—and I know it’s the right moment to add chicken broth. My stockpot has steadily served us for our 17 years of marriage and I have a certain fondness for it. But I can’t see a darn thing in it’s metallic abyss.
Thank you, adorable dutch oven, for making this winter a little more bearable and a lot more delicious.
And now, the recipe I used as a baseline for our Life Group meal last night. Yes, I did accidentally put an entire quart of half and half in the soup. I gasped in horror, stirred, and decided nothing more could be done as friends were walking in my home. It was a bit brothier than expected, but still good on a cold dark night, and it reminded me that I should commit to a very low-fat season of cooking when warm weather visits again. (My own changes to the recipe are listed on Needs More Butter where I will continue to post all these recipes.)
Ingredients:
1/2 cup butter
1 onion, chopped
1 (16 ounce) package frozen chopped broccoli
4 (14.5 ounce) cans chicken broth
1 (1 pound) loaf processed cheese food, cubed
2 cups milk
1 tablespoon garlic powder
2/3 cup cornstarch
1 cup water
Directions:
In a stockpot, melt butter over medium heat. Cook onion in butter until softened. Stir in broccoli, and cover with chicken broth. Simmer until broccoli is tender, 10 to 15 minutes.
Reduce heat, and stir in cheese cubes until melted. Mix in milk and garlic powder.
In a small bowl, stir cornstarch into water until dissolved. Stir into soup; cook, stirring frequently, until thick.
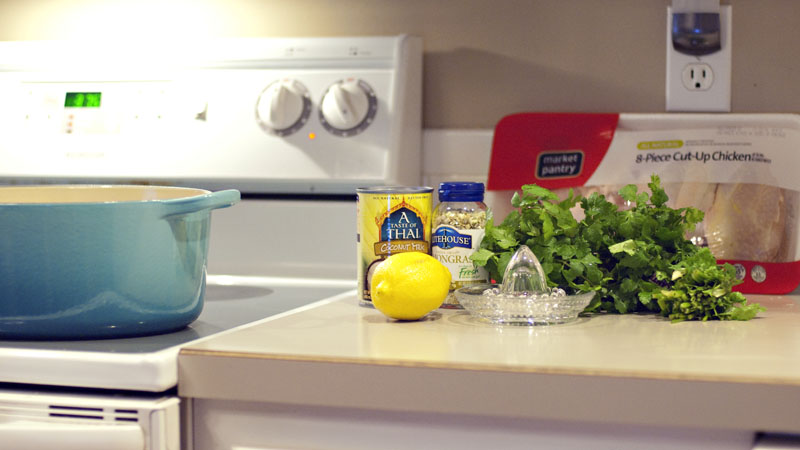
This recipe was one of the first ones that made me feel like I HAD to get a dutch oven. I mean, I’m a grown woman and I have no ability to take a dish from the stovetop to the oven? What’s wrong with this world? (Sarcasm alert, first word problems, whatever. I’m joking. Kind of.)
I read through the comment section over and over in an attempt to glean wisdom from the other chefs’ comments. Per their advice, I juiced a lemon and zested it rather than throwing entire slices in the dish (the pith can make the final flavor too bitter). In lieu of fresh lemongrass, which was not readily available at the closest grocery story, I tossed in small pieces freeze-dried lemongrass. This was before I had read anything about lemongrass whatsoever. In the end I had to strain out all the hard little pieces which didn’t make for the nicest texture. You live and learn. Final note: I added an extra can of coconut milk, which, in my opinion, put the dish over the top into a too-creamy territory. Despite the small quibbles, the dish was really delicious. I’ll definitely be fixing this again for my family.
Chicken in Coconut Milk with Lemongrass
Serves 4 to 6
1 whole roasting chicken (3 to 4 pounds)
Sea salt and freshly ground black pepper
4 tablespoons (1/2 stick) butter
1 tablespoon olive oil
1 cinnamon stick
2 whole star anise
1/2 cup roughly chopped cilantro stems
1 large lemon, cut into eighths
1 stalk lemongrass, 5 inches of white part only, chopped into 1/4-inch pieces
6 to 8 cloves garlic, peeled and smashed
1 (14- to 16-ounce) can coconut milk
3 cups torn greens (spinach, kale, chard, mizuna, etc.)
2 green onions, chopped into 1/4-inch pieces
Chopped cilantro, to garnish
Cooked rice, to serve
Pat the chicken dry and sprinkle it liberally with salt and pepper. Put the chicken, covered, in the refrigerator for up to 24 hours, or if you’re going to cook it right away, set it aside while you prepare remaining ingredients.
When ready to bake the chicken, preheat the oven to 375°F.
Melt the butter in a large Dutch oven over medium heat, then add the oil. Put in the chicken, breast-side up, and let it sizzle for about 30 seconds. Carefully flip the bird and crisp the other side for another 30 seconds. Remove the pan from the heat, put the chicken on a plate, and pour off the fat in the pot.
Transfer the chicken back into the pot, breast-side up, and add the cinnamon stick, star anise, chopped cilantro stems, lemon, lemongrass, garlic, and coconut milk. Cook, uncovered, in the preheated oven for 60 to 90 minutes (depending on size). Spoon the sauce over the top of the bird to baste every 20 minutes or so. The chicken is done when an instant-read thermometer inserted into the thigh reads 165°F.
Remove chicken from the pot and put it on a plate. Pull out and discard the cinnamon stick and star anise. Put the pot with the sauce back on the stovetop over medium heat, add the spinach and stir until just wilted, about 10 seconds.
Carve the chicken and serve each piece over rice with sauce spooned over the top. Garnish with chopped scallions and cilantro leaves.
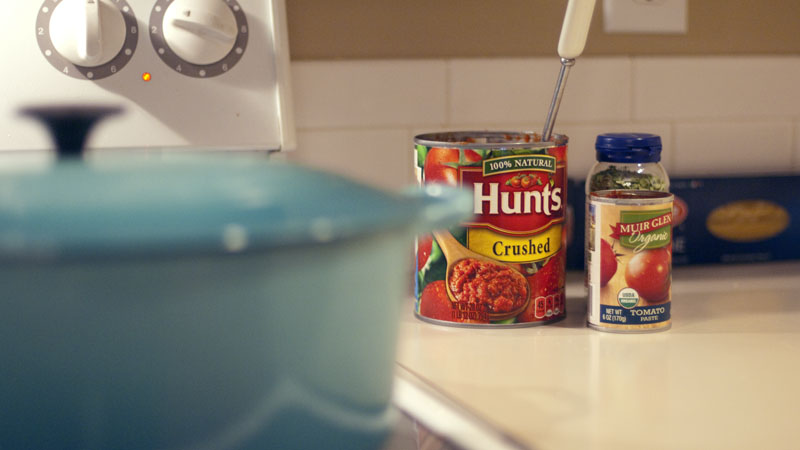
There is really no good reason to blog about making dinner. I mean, everyone has to make dinner. It’s one of the most common struggles moms and dads face: “What’s for dinner?” Part of the daily grind, it can get a person down if you aren’t planning ahead and somehow engaged in the whole endeavor. Honestly, there’s nothing special happening here.
But there is.
At least in my house there is.
It’s dinner. Good food made at home, in a new dish that functions beautifully. Each meal right now is something fun that we haven’t tried before, and each meal is an experiment in this notion of actually enjoying a cozy dark winter evening at home. It is new. I’ve chosen to let a spark of creativity fly in my kitchen a few times a week and, darn it, if blogging the experience allows my family to eat homemade meals, well then, that’s what’s gonna happen.
The side effect to the simple joy of eating good food is the prepping of that good food. I have always enjoyed baking, but cooking, not so much. This time around it feels different though. I’m enjoying the experience. I like chopping onions and rendering bacon in the dutch oven. I like the slow adding of ingredients to the pot, the melding of smells and flavors until the final dish is complete. I like tasting a particular ingredient in the recipe, something that I chopped up, that gives that added burst of interest to each bite. (In this dish, it’s the teeny tiny bite of fire from the red chili flakes.)
Thanks to my brother Andrew for sending along the recipe for One Pot Pasta Bolognese. It’s a keeper. As always, it will be posted on Needs More Butter as well.
Prep time: 10 mins
Cook time: 40 mins
Serves: 6 servings
INGREDIENTS
• 4 slices bacon, chopped
• 1 medium onion, finely chopped
• 1 stalk celery, finely chopped
• 4 cloves garlic, minced
• Kosher salt and black pepper, to taste
• ¼ teaspoon red chili flakes, plus more to taste
• 1.5 lb ground chuck
• ¼ cup tomato paste
• 28 ounces crushed tomatoes
• 3 cups reduced sodium chicken stock (or 2 c chicken stock, 1 c wine)
• 4 sprigs thyme
• 1 pound tagliatelle or spaghetti
• ¼ cup milk
• ½ cup shredded Parmesan cheese
• ¼ cup thinly sliced fresh basil leaves
DIRECTIONS
1. In a dutch oven or large skillet over medium heat, cook the bacon until lightly crisped. Mix in the onion, celery, and garlic, and season liberally with salt and pepper. Mix in ¼ teaspoon red chili flakes, adding slightly more if you prefer more heat in your sauce. Cook together until the onion has softened, about 5 minutes.
2. Add in the ground chuck. Cook, breaking up the meat with a wooden spoon, for 5 minutes or until browned all over. Once browned, stir in the tomato paste, crushed tomatoes, chicken stock, and thyme.
3. Bring the mixture to a boil, then reduce to a simmer, cover, and cook for 5 minutes. Then, uncover, remove the thyme sprigs, stir the pasta in, and continue to simmer for 15 minutes or until the pasta is cooked through and the sauce has thickened, stirring occasionally.
4. Stir in the milk, parmesan cheese, and shredded basil, and adjust the seasonings to taste. Serve with additional basil, to garnish.
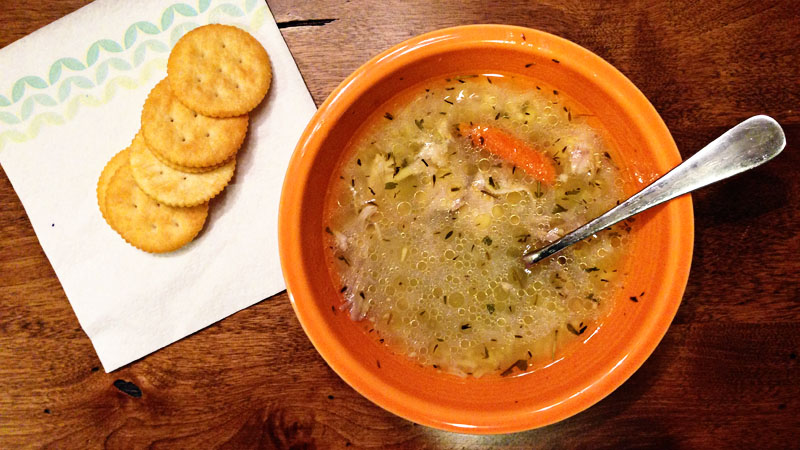
We were all feeling puny and sniffly last week, so chicken soup made it to the top of my Koselig Cooking list. The dutch oven had already proved its usefulness in soup-making, and the necessary ingredients were in my pantry. I used the following recipe as a general outline and went to town.
Full disclosure: my coconut oil had expired. It passed the sniff and sight tests so I scooped some out of the jar and began to heat it in the Le Creuset. Uh-oh. It smelled a bit weird. Not the foul-chicken-weird that happened when I threw out-of-date chicken into my crockpot that one time—no, that was horrific and, dear Lord, let me never repeat it. I Googled coconut oil’s shelf life, was reassured mine was good, and the outcome of the soup was that it was THE BEST CHICKEN SOUP EVER. Not even kidding, folks; this was the best chicken soup I’ve made and I like to make soups. The spices were perfect and there was just enough fat in it to be filling on a cold winter’s night. This recipe—even though I played with it a bit and didn’t follow it completely—is the real deal.
Jump on over to Needs More Butter for the recipe for The Best Chicken Soup.
I asked friends on Facebook for recommendations for a dutch oven and boy did they deliver. I can read all I want to online—and I did—but I really value the opinions of my friends and I’m more than glad to hear what works for them in their own homes. When it comes to dutch ovens, everything was recommended! Ovens from Aldi and Sam’s Club totally work. Ones from Target have been popular in the past, and of course there were the big names like Lodge and Le Creuset.
On Monday, after doing my research online and visiting one store in town, I left home determined to buy a Lodge. Three stores and four hours later found me returning home with a Le Creuset. I knew I could return it easily if I changed my mind, but instead I washed it right away and promptly cooked the following recipe with it. I am thrilled to bits and am excited to cook everything possible in it. Her. In her. I think she needs a name. Maybe Koselig the Dutch-Norwegian-French Oven. This pot feels like a piece of art!
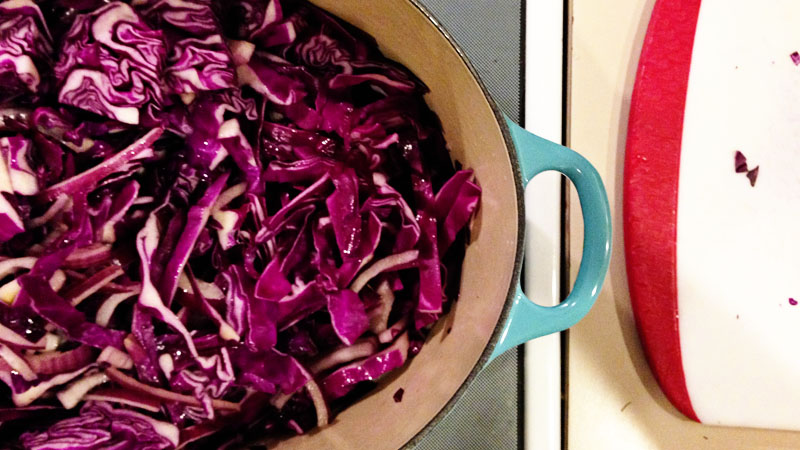
I will post all recipes both here and on the community dinner blog that Renae and I have been using for years called Needs More Butter. This Oktoberfest Stoup—hey, I didn’t make up the name—can easily be cooked up in your stockpot, but why do such a thing when you can make it in your new dutch oven? The onion and cabbage cooked up like a dream on the stovetop and this stew/soup, combined with a loaf of homemade rye bread from friends, was the perfect thing to warm our bellies last Monday night.
2 TB vegetable oil
2 TB butter, cut into pats
3 knockwursts, diced into 1-inch cubes
3 bratwursts, diced into 1-inch cubes
1 red onion, quartered and thinly sliced
2 lb red cabbage, quartered and shredded
1 t caraway seeds
salt & pepper
1 12oz bottle dark beer
1 qt veal or chicken stock
2 C tomato sauce
2 TB Worcestershire sauce
1 bay leaf, fresh or dried
3 TB finely chopped flat-leaf parsley
2 Red or Golden Delicious apples, peeled and diced
juice of 1/2 lemon
Heat a big soup pot over med-high heat. Add 1 TB of vegetable oil and half the butter. When the butter melts into the oil, add the cubed worsts and brown them on all sides, 5 minutes. Remove the browned sausages and add the remaining tablespoon each of oil and butter. When the butter melts into the oil, add the onion and cook for 2 minutes. Add the cabbage and caraway, season with salt and pepper, and stir.
Cook the cabbage for 10 minutes, stirring frequently. Add the beer and cook down 1 minute. Add the stock, tomato sauce, Worcestershire, and bay leaf and stir to combine. Add the wurst back to the pot. Cover the pot and bring the stoup up to a boil, 2 or 3 minutes. Remove the lid and simmer for 5-10 minutes longer, until the cabbage is tender.
Remove the bay leaf. Combine the parsley, apple, and lemon juice in a small bowl. Ladle the stoup into shallow bowls and top with generous spoonfuls of the flavored apples to stir into the stoup as you eat it.
**Chef’s notes: I’ve never messed with the parsley/apple mixture though it sounds delicious. Also, I used bratwurst this week and actually prefer a sweeter sausage (like a chicken/apple one) instead. Also, it typically takes longer than 10 minutes for the cabbage to get tender.
**Family approval: I have set a very low bar for home-cooking which has resulted in my family heaping praise upon me for making scrambled eggs, not even kidding. That being said, our 11 year old daughter ate an entire bowl of the cabbage soup without blinking an eye. Awesome.
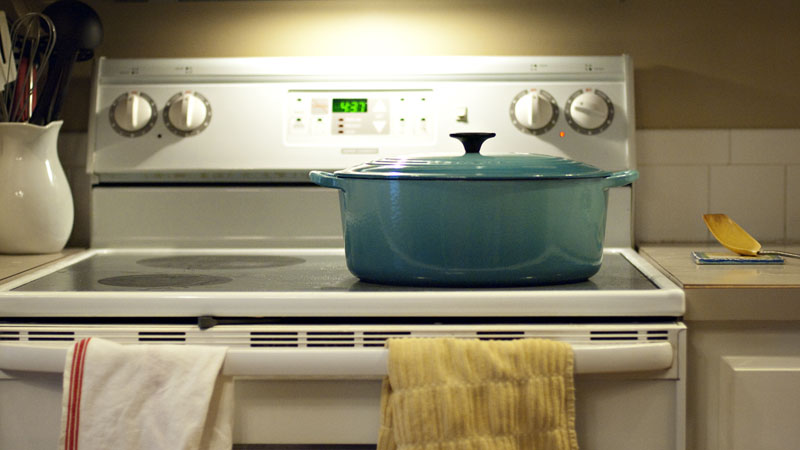
My tradition of complaining about winter temperatures is going to disappear this year. Yes, I am a warm weather-loving girl, but I’m done with the bad attitude toward winter because it has helped me positively endure Nebraska winters, well, not at all. If you could look out my window you’d see the dreariest January day imaginable. It’s been raining all day with temperatures hovering above freezing and it’s wet wet wet out there. And so gray. Basically, I need a sun lamp, a treadmill and a glass of orange juice to work out my issues today. Before I go join the gym however, I can work on adjusting my attitude. I can do what the Norwegians do, what the Danish do, and embrace the coziness that is only available this time of year. Candles that light up my mantel, a fire in the fireplace, crafting or reading on the couch, warm blankets and good movies to watch. And winter food. Comfort food. Yummy, delicious, homemade food that really only seems fitting during the bitter cold winter months.
So I introduce to you a little series on my blog called “Koselig Cooking.” Koselig is a word Norwegians use to describe a sense of coziness, and I want to borrow it this winter to write about my experiences in the kitchen. It’s a dangerous thing to say you’re aiming to create a series—at least, I hate not fulfilling what I start out to do—but hey, my family needs to eat and I’ve already decided 2016 is the year I do a better job making food in my own kitchen. Baking is my preferred creative outlet, but I am actively trying to avoid eating sweets, as much as I really love them, and so here we go with Koselig Cooking.