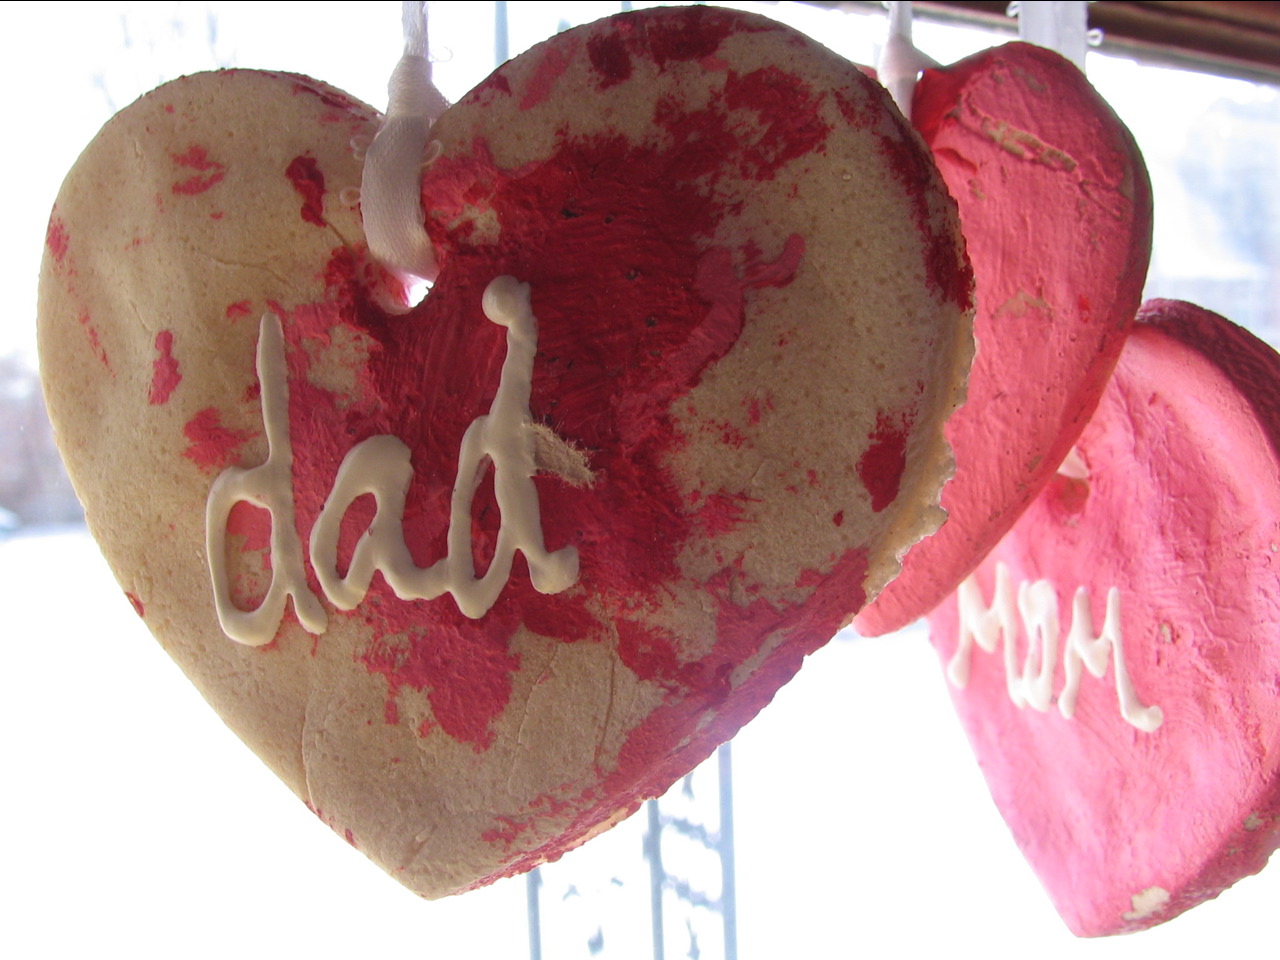
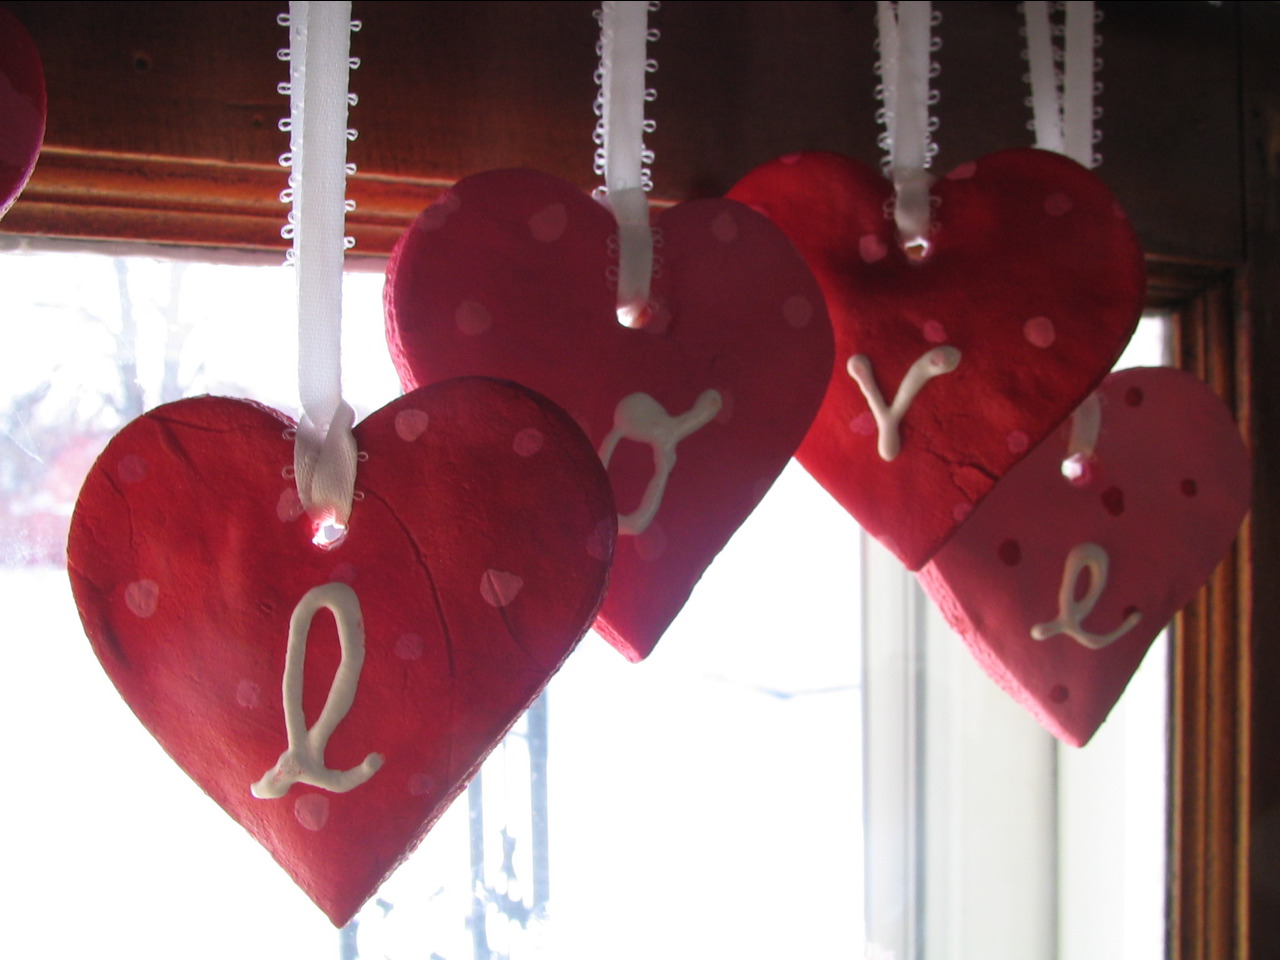
Baker’s Clay
2 C flour
1/2 C salt
3/4 C water
Combine all ingredients in mixer with dough hook attachment and knead away for a few minutes… OR… Combine flour and salt in a bowl, then slowly add water with fork and mix all with hands. Knead for 5 minutes. Roll out shapes and figures to desired thickness. Make a hole in the dough for ornaments to be hung later. Bake at 350 for 10-60 minutes, depending on thickness. Cool and paint. [Sara Mann, Zion Cookbook]
**Thick shapes may need to bake up to 2 hours, I’ve discovered. In lieu of acrylic paints, nail polish works great. This is a simple and fun craft to do all year round with your kids (or by yourself, I just use my child as an excuse to do fun kid-type activities).


4 Comments
Jacinda Feb 15, 2007 11:46 PM
Those are super cute! I’ve found that I use kids as an arts-n-crafts excuse too. I realize that I’m doing it more for me when I get annoyed that there is too much “child” input happening.
Monica Feb 16, 2007 6:16 AM
Thanks for the recipe and idea! So, did you paint the hearts red with nail polish or did you color all the dough red first? Sorry, I was a little confused on that… I’m filing this away for next year on V-Day! So cute!
Bryonie Feb 16, 2007 7:44 AM
Those looks so pretty, Rebecca! I love your ideas…
RT Feb 16, 2007 11:23 AM
J, I realized I was doing it more for myself when I didn’t want Livia to paint alongside me… Crafts are a perfect example of where moms need a little more patient from God, eh?
Monica, I paint my shapes after baking. I found some recipes online where the dough gets tinted first, but I tend to like vibrant colors best, so painting afterwards works well for me. Also, acrylic paints are so cheap at Michaels/Hobby Lobby that I chose to use them this time around. In the past I’ve used fingernail polish.